How to Launch a Puffer Jacket Brand
- Share
- Issue Time
- Aug 29,2026
Summary
How to launch a puffer jacket brand: positioning and target buyer, building a manufacturing-ready spec, choosing OEM ODM or private label, sampling and approval, planning the first production run, branding packaging and compliance, pricing and reordering. Factory data from Ginwen: MOQ 50 pcs per style, sampling 7-14 days, bulk 25-40 days, sample fee USD 50-200 deductible, 30% deposit and 70% balance.
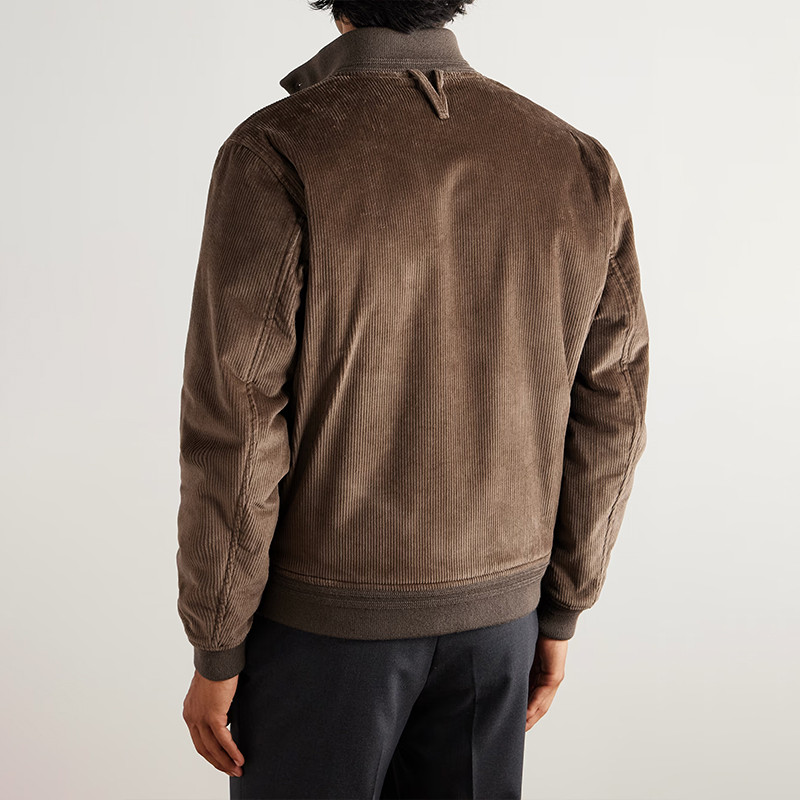
Launching a puffer jacket brand means taking a product concept through positioning, design specification, factory selection, sampling, production, and market entry, and the realistic path to your first sellable inventory starts with an MOQ of 50 pieces per style and a total lead time of roughly 60 to 90 days including sampling, bulk production, and shipping. This guide walks through the entire launch sequence in the order we see successful brands execute it, with the factory-side facts you need at each stage: what to prepare before contacting manufacturers, how to choose between OEM, ODM, and private label, how sampling and approval actually work, what the first production run costs and how payment is structured, and how branding, compliance, pricing, and reordering fit into the plan. The factory details throughout are based on how we run programs at Ginwen, a B2B puffer jacket and outerwear manufacturer in Dongguan, China, serving brands in Europe and North America. A puffer jacket brand launch is a sequence of decisions, and each decision feeds the next. Trying to design, source, and sell simultaneously is the fastest way to burn budget on samples that never reach production. The roadmap below shows the order that works, with the typical time each stage takes at a factory like ours. 1-2 weeks. Define your buyer, price point, and the first two to four styles that prove the concept. 1-2 weeks. Write the spec sheet, research manufacturers, and request quotations with MOQ and lead time. 7-14 days per sample round. Develop samples, review fit and materials, approve before production. 25-40 days. Deposit confirms the order, line produces the run, final inspection before packing. 25-35 days by sea or 5-10 days by air after production. Inventory lands, launch campaign starts. Total realistic timeline: 60-90 days from first inquiry to landed inventory for a first launch run. Positioning comes before product development because it decides what you build. A puffer jacket for commuters in Northern Europe needs a different silhouette, fill, and feature set than one for festival-goers or one for alpine day trips. Define your buyer precisely, then let that definition drive the spec. Write these decisions down as a one-page brand brief. The brief becomes the reference document that keeps design, sourcing, and marketing aligned, and it is the document you share with the factory so the development team understands the commercial target behind the garment, not just the technical spec. A manufacturing-ready spec turns your design idea into something a factory can price, sample, and produce without guesswork. The more complete the spec, the more accurate the quote and the fewer surprises in sampling. Incomplete specs are the main reason quotations drift between factories and samples require multiple rounds. The three manufacturing models differ in how much design work you bring and how much the factory provides. Choosing the right model at the start prevents wasted development time and mismatched expectations. You provide the complete design and specifications, and the factory manufactures to your pattern and spec. Best for brands with established design capability and exact control over construction. The factory develops the product from your concept using its patterns, materials, and expertise. Best for founders who know what they want to sell but do not have technical apparel files yet. The factory manufactures an existing design or style that you brand as your own with custom labels, packaging, and marketing. Best for fast market entry with lower development cost. Start ODM for the first collection, then move to OEM as your design team matures. Many successful brands graduate from factory-led development to fully owned specs. For most first-time founders, ODM is the pragmatic starting point because it removes the pattern-making and sourcing skills you would otherwise need before your first sale. The trade-off is that ODM development is built on the factory's existing patterns and material library, so the product is shaped by what the factory does well. If you have a fully specified design and the technical skills to communicate it, OEM gives you maximum control. Private label is the fastest route to market but offers the least differentiation. Sampling is where your brand becomes a real product. The sample confirms the silhouette, fit, materials, and construction before you commit to bulk production, and it is the cheapest place to fix problems. At Ginwen, sample development takes 7-14 days, and the sample fee of USD 50 to 200 is deducted from the bulk order once production is confirmed. The first production run is the moment your brand commits real money to inventory. Plan it conservatively: a smaller first run that sells out is a better outcome than a large run that requires markdowns. The commercial terms that govern the run are straightforward and should be confirmed in writing before you pay anything. Branding turns a manufactured garment into your product, and compliance keeps it sellable in your target market. Both need to be planned during production, not after, because labels, hang tags, and compliance documentation are produced alongside the jackets. Our facility holds ISO 9001 and BSCI certifications, and we support RDS and OEKO-TEX Standard 100 requirements, which covers the factory-side compliance that EU and US buyers typically verify. Market-side compliance, such as import duties and label law in your specific country, is your responsibility as the importer of record, and we recommend confirming those requirements with a customs broker before you finalize the production order. One more planning element belongs in the first-run decision: where the inventory will be stored and how it will be sold. Decide before production whether you sell DTC from your own warehouse or through a fulfillment partner, because case pack quantities, carton labeling, and barcode requirements differ. Wholesale buyers typically expect larger case packs and retail-ready labeling, while DTC fulfillment works better with individually barcoded poly bags and smaller case packs. Communicating these details to the factory before packing starts avoids re-labeling costs after arrival. Pricing connects everything: the factory cost determines your margin, the retail price determines whether the product moves, and the margin determines whether you can reinvest in a second run. A simple pricing model keeps the math honest at launch. Reordering is where the economics improve. Once a style proves itself, reorder quantity can step up to the growth tier, the pattern and materials are already approved, and production scheduling is faster because the specification is locked. Brands that launch with a small first run and scale on data consistently end up with better unit costs and lower markdown risk than brands that bet the full season on the first order. The biggest product decision in a launch is not which jacket to make; it is how many jackets to make. First-time brands almost always overestimate how many styles they can manage across design, sampling, production, and marketing. A tight first collection concentrates your budget, your factory's attention, and your marketing message on fewer products, which raises the probability that each one sells through. A proven structure is one hero style plus one complement. The hero style carries the brand story and the marketing campaign; the complement gives repeat buyers a second option and increases average order value. Both styles share as many materials and trims as possible, so fabric purchasing is efficient, sampling cost stays low, and the factory can schedule both styles on one production line. Every additional style multiplies sampling rounds, approval cycles, and SKU-level inventory risk, so adding a third style only makes sense after the first two are fully validated. Within each style, resist the urge to offer many colorways. Two to three colors per style is the practical range for a first run: enough choice to signal a collection, few enough to keep inventory manageable. If one colorway sells disproportionately well, a reorder can expand it without redeveloping the style. This depth-over-breadth approach is the same logic we see in successful private label programs: brands that launch with one strong style and scale it through reorders build healthier unit economics than brands that launch ten styles and mark down eight of them. Most launch failures are not caused by bad products; they are caused by correctable planning errors that compound across the sourcing cycle. Recognizing them early keeps your budget and your launch date intact. If you are deciding whether to develop a fully custom design or move faster with an existing factory style, our guide to custom puffer jacket manufacturing explains the trade-offs, and the difference between puffer and down jackets article helps you choose the right filling story for your positioning before you brief the factory. Launch costs vary with style complexity and quantity, but the controllable core is: sample fees of USD 50-200 per style, a 30% deposit on the first production run, and the 70% balance on completion. A conservative first run of 50-150 pieces per style keeps the initial cash commitment modest while qualifying for bulk pricing. With a clear brief, the realistic cycle is 60-90 days: 2-4 weeks for positioning and spec, 7-14 days per sample round, 25-40 days for bulk production, and 25-35 days by sea or 5-10 days by air for shipping. Starting at least three months before your target in-stock date is the safe planning rule. Our MOQ is 50 pieces per style. The quantity can be split across sizes and colors within the style. This threshold is set so first-time brands can access factory pricing without committing to thousands of units. No. Through ODM development, sketches, reference photos, or a competitor garment are enough to start. Our team builds the production pattern and spec. If you have complete technical files, OEM manufacturing follows your design exactly. The core set buyers check is ISO 9001 for quality management, BSCI for social compliance, and RDS plus OEKO-TEX Standard 100 for down sourcing and material safety. Ask for current certificates covering the specific factory that will produce your order. Yes, this is a common path. Start with a private label style to enter the market quickly, build demand, then move to ODM or OEM for your own designs. Each stage uses the same production and QC infrastructure, so the transition is smooth. See our guide to private label puffer jacket manufacturing for the details. Launching a puffer jacket brand is a sequence of decisions that compound: positioning shapes the spec, the spec shapes the factory choice, sampling de-risks production, and a conservative first run funds the reorder that improves your margins. Each stage has a clear deliverable, and none of them require a large team or a large first order. Ready to start your brand? Contact our team or submit your requirements with your concept, target price, and launch date for a development plan and quotation. You can also browse our product catalog or read more brand and manufacturing guides on our blog.How to Launch a Puffer Jacket Brand
Table of Contents
The Brand Launch Roadmap at a Glance
Positioning and Product Definition
Specification and Factory Shortlist
Sampling and Approval
Bulk Production and QC
Shipping and Market Launch
Step 1: Positioning and Target Buyer
Step 2: Building a Manufacturing-Ready Specification
Spec Area What to Define Why It Matters Silhouette and fit Regular, slim, oversized; target garment measurements per size Determines pattern, grading, and fabric consumption Shell fabric Nylon or polyester, weight in denier, DWR or membrane, recycled content Drives 25-35% of unit cost and the jacket's weather performance Filling Down, down-blend, or synthetic; fill power and gram weight per jacket Determines warmth, packability, and 15-25% of unit cost Construction Baffle or channel quilting, seam finish, stitch density, binding Affects sewing minutes, durability, and the premium look Features Hood, pockets, zippers, cuffs, drawcords, reflective details Each feature adds parts, labor, and potential failure points Branding Labels, hang tags, embroidery or print placement, packaging Defines the private label scope and packaging cost Sizes Size range and target size chart Needed for grading and cutting planning Step 3: Choose OEM, ODM, or Private Label
OEM
ODM
Private Label
Hybrid
Step 4: Sampling and Approval
Step 5: Planning the First Production Run
Step 6: Branding, Packaging, and Compliance
Branding Options
Compliance Essentials
Step 7: Pricing, Launch Channels, and Reordering
Choosing Your First Collection: Depth Over Breadth
Common Mistakes When Launching a Puffer Jacket Brand
Frequently Asked Questions
How much does it cost to launch a puffer jacket brand?
How long does it take from idea to launch?
What is the minimum order quantity for a first run?
Do I need my own design files to start?
What certifications should a puffer jacket factory have?
Can I start with private label and move to custom design later?